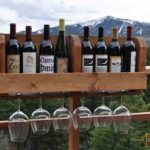
Ever wondered how you could turn your backyard into one awesome party venue? Well, this DIY hanging bar (a.k.a the fold-down Murphy Bar) is going to spice things up for your next party. I can’t tell you how much fun I had making this project and I want to share it with you guys.
This Fold-Down Hanging Bar Is Perfect For Halloween Outdoor Parties
Sometimes we just want to have a place where we can store our drinks and food outdoors, especially for parties. I found that whenever we had parties, the tables were always filled and we didn’t have enough space for bowls, bottles, and glasses. When I completed this fold-down hanging bar, my friends and neighbors were jealous. First off, this is no ordinary Murphy Bar. Apart from holding your drinks and glasses, it can also act as a mini-table to hold food and glasses. Check out the steps below to create your version of this cool DIY project.
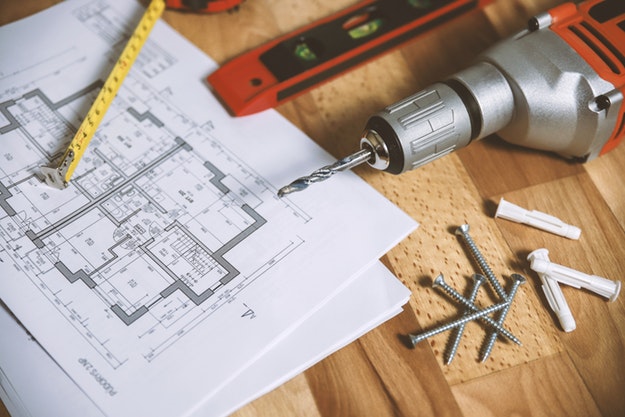
Tools:
- Miter Saw
- Circular Saw
- Drill
- Bar clamps
- Brad nailer
- Bevel gauge
- Straightedge
- Router with ¾-inch straight-cut bit
- 1/16-inch countersink bit
- Rafter square
- Level
- Phillips screwdriver
- ⅜-inch doweling jig
- ⅜-inch twist bit
Supplies:
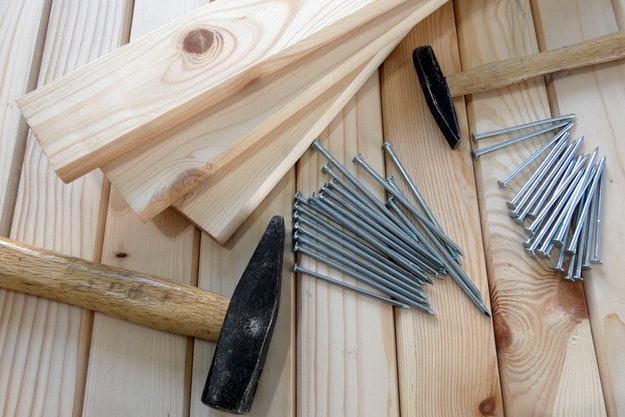
Wood/Pallets
- Two – 1×4 cedar/pallets (10-footers)
- Two – 1×8 cedar/pallets (10-footers)
- One – 1×10 cedar/pallets (8-footer)
- One – 5/4×4 cedar/pallets (10-footer)
Others
- ⅜-by-2-inch spiral-cut wood dowels
- 1½-inch brad nails
- 1¼-inch deck screws
- 3-inch deck screws
- ⅝-inch brass screws for the door slats
- Brass or stainless steel hinges
- Latch
- Shutter pulls
- Quick Links
- Chain exterior-grade wood glue
Steps:
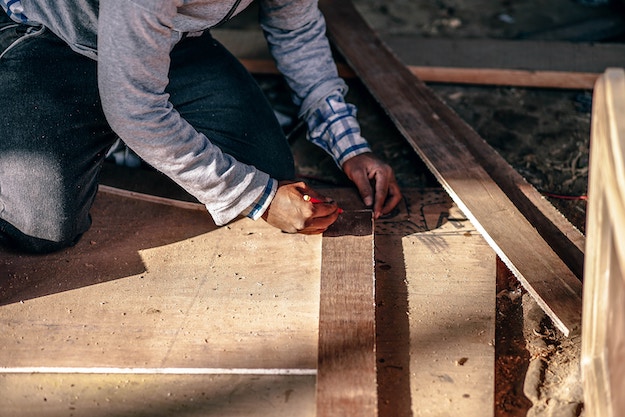
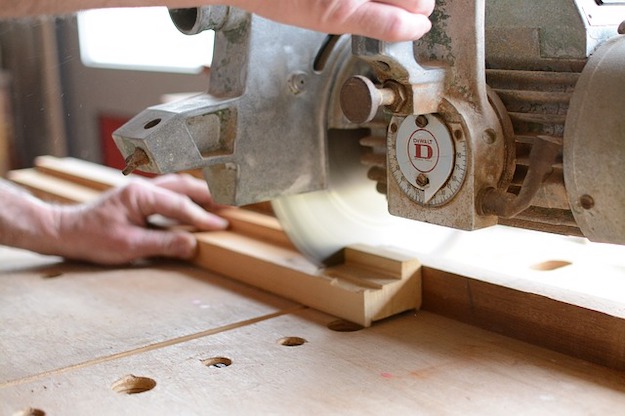
1. Cut the Cedar

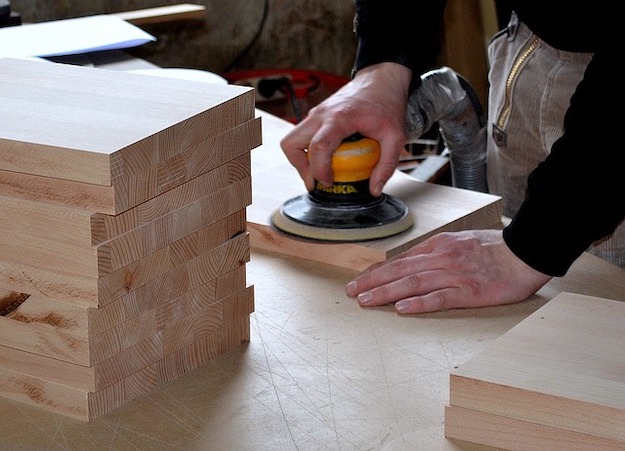
Cut the cedars to the desired length using a miter saw. Do not include the door slats.
Create four L-shaped blocks with right angles to help you clamp the box together.
2. Layout and Glue
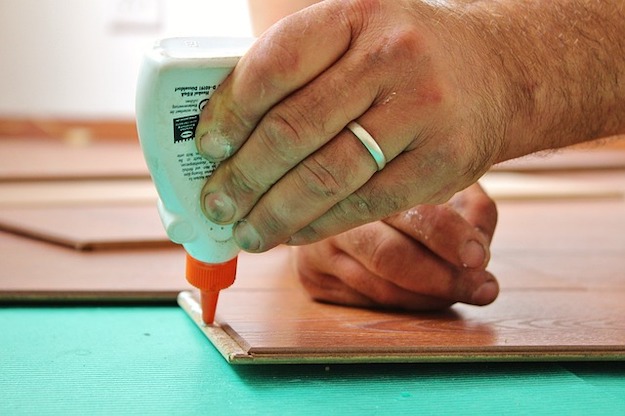
Lay out the pieces. See the sides and vertical divider captured by the top and bottom. Glue them and secure with clamps.
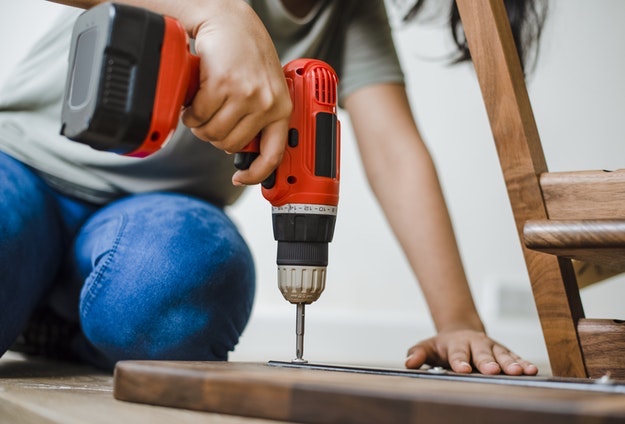
Step 3. Drill and Screw
Drill holes with the countersink bit and screw the pieces together.
Create the overhang by the top. It should be wider than the sides. Glue and clamp the top piece in place, and secure with screws.
4. Attach the Shelf Pleats
Measure for the correct location of the shelf pleats, then mark the area.
Glue the cleats, and tack them in place.
5. Install the Shelf

Once the shelf pleat areas are marked, slide in the shelves and secure them with screws or wood glues. For this one, I added a dash of wood glue on the ends of the panels and slid them in. While waiting for the glue to dry, I proceeded to build the roof.
6. Build the Roof
Using the bevel gauge, set it to 12 degrees and mark the angle at the bottom corner of the 1×8 cedar.
Clamp the pieces of wood together and cut them using a circular saw at the same time to have identical pieces.
Mark 12 degree angles on the edges of the roof boards, where they meet at the peak. Loosen the shoe of the circular saw and match the blade to that angle, and then make the cuts.
Check if the pieces fit together.
7. Install the Roof
Let the box stand upright and then glue the bottom edge of one gable. Use the cut-off section to clamp it in place.
Drill pilot holes from inside the box. And then screw the piece in place.
For the roof pieces, glue them down and use a brad nailer to tack them down.
8. Install the Back
Place the first slat flush at the bottom edge of the box. Use spacers to even out gaps between each slat. With a brad nailer, tack all into the edges of the box; except for the top slat.
Make the cleat by marking 45 degrees on the end of the board and then transfer that line to the face of the board.
Screw the board down to your work surface.
Set the blade to 45 degrees and rip the board through its entire length.
You will have two complimentary pieces, one will be attached to the wall. The other one will be installed as the top slat. Attach this one with screws.
9. Making the Door Frame
Clamp the stiles at the end of the table.
Chuck a ¾-inch straight-cut bit in your router, and set the fence to keep the cut at that width. Make several passes until the channel is ⅜ inch deep.
Clamp one stile and a ⅜-inch doweling jig to the work surface. Use the ⅜-inch twist bit to drill two holes 1 inch deep to accept the wood dowels. Repeat this step on the other end and on the other stile, making sure to keep the jig flush with the edge that is not routed.
10. Assembling the door
Apply glue to one end of the dowels and insert them into the rails.
Glue the stiles and fit them into place
Cut slats to fit according to the measure of the frame. Clamp all four cuts together.
Rout both ends so that they fit into the door frame
To finish the door, lay the slats and countersink two pilot holes and then secure with screws.
11. Install the Hinges and Rings
Install the hinges and rings for the chain
Use a square to check on the opening of the door before cutting the chain into length.
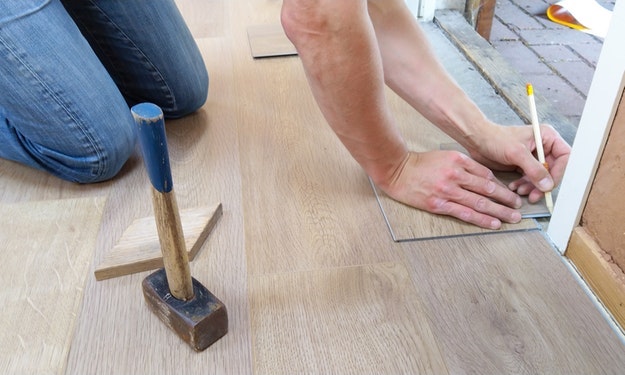
12. Install the Bar
Level the french cleat into the wall and drive a screw into each end.
If you happen to have clapboards, drive shims in from the top of the cleat to bring the face plumb. Keep the cleat from trapping moisture against the siding
Slide the bar onto the cleat and you are done!
And you’re done! Wait for a day or two to make sure the wood glue is dry before you start placing bottles, jars, glasses and other items inside the hanging bar. What I really like about this project is that this is a template. You can work with your own dimensions and own materials to get a more customized hanging bar. On my end, I worked with wooden pallets and worked with a bigger hanging bar than this tutorial.
Here’s This Old House’s full tutorial video of the Fold-Down Hanging Bar:
This productive DIY project is one for the books! Not only did you spend a very fruitful weekend, but you also get to spend a relaxing afternoon with your wineglass at hand. It’s been a while, and it wouldn’t hurt to enjoy one that you truly deserve!
Click here for more ingenious backyard DIY projects!
Like this? You’ll also like…
DIY Projects: How To Build Your Own DIY Wine Rack